Pants to skirt with a lace trim. The first one that I made, waist band cut off, zipper taken off and front flapped over to create a closure with an added triangle of denim stitched in the bottom to fill the gap. Though an interesting look I'm not entirely sure about how complicated it was to piece it together.
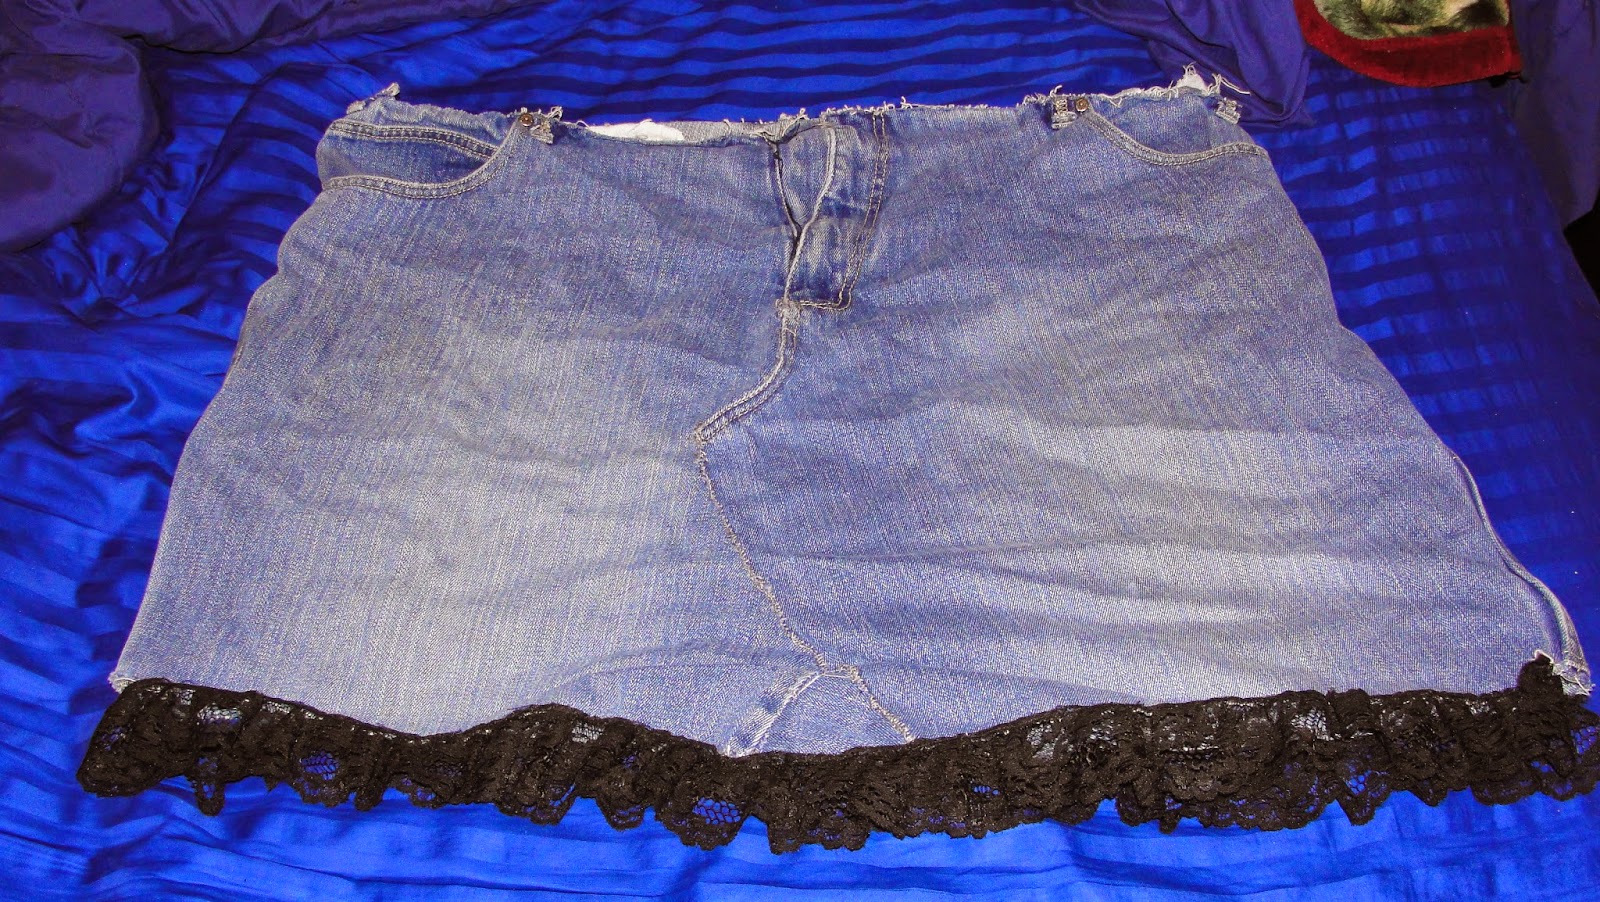
So this one was another pants to skirt. I end up doing this really as experiments with pants that don't fit me or I have issues with and so on. With this one I had additional fabric from shirt I had taken apart, so I used that to extend the base of the skirt and used the ruffles as a trim.

As you have probably noticed I have an issue with letting jeans go because I just don't have many of them. This one developed a large rip at the knee and instead of leaving it I decided to patch it over with left over material from the first skirt that was shown. Ideally, and an oversight on my part I should have used the original rip instead of just patching the whole outside (though in that case the stitching on the outside might look even stranger). So in order for look to make sense I made another hole in the patch and sewn that as well as some of the original ripped fabric peeking through. Old boxers with an boombox print made a good under-patch to the whole thing.


Pretty sure I'm getting fatter because although the sleeves on this shirt have always been on the tight side I think they were getting tighter which made it strange looking to wear. Took some brown fabric (same as the one from the second skirt) and put it in between a thin triangle cut out on the sleeve.


Yes more Five Nights at Freddy's stuff :). Got a pack of boys undershirts to paint on thinking I wouldn't have an issue with acrylic paints, or at least hoping I wouldn't have an issue. Moral of the story is to suck it up and go buy fabric paints! Even after "heat setting" with an iron and careful washing you end up being screwed no matter how you paint it on. Painting it too thin will cause the fabric to peek through the paint and painting it too thick will cause it to crack with washing. I also used acrylic clear medium as a first layer to I think most of them so the paint wouldn't bleed through, however this might of increased the wear of the rest of the paint. Also note to self that I really should realize when doing something like this... 4 year old boys and white shirts do not mix!


In fact painting on a light fabric with acrylic and then dying it might lead to other interesting ideas...
Currently I'm doing another pants to skirt deal so we'll see how that goes.
But first more Minecraft :D
No comments:
Post a Comment